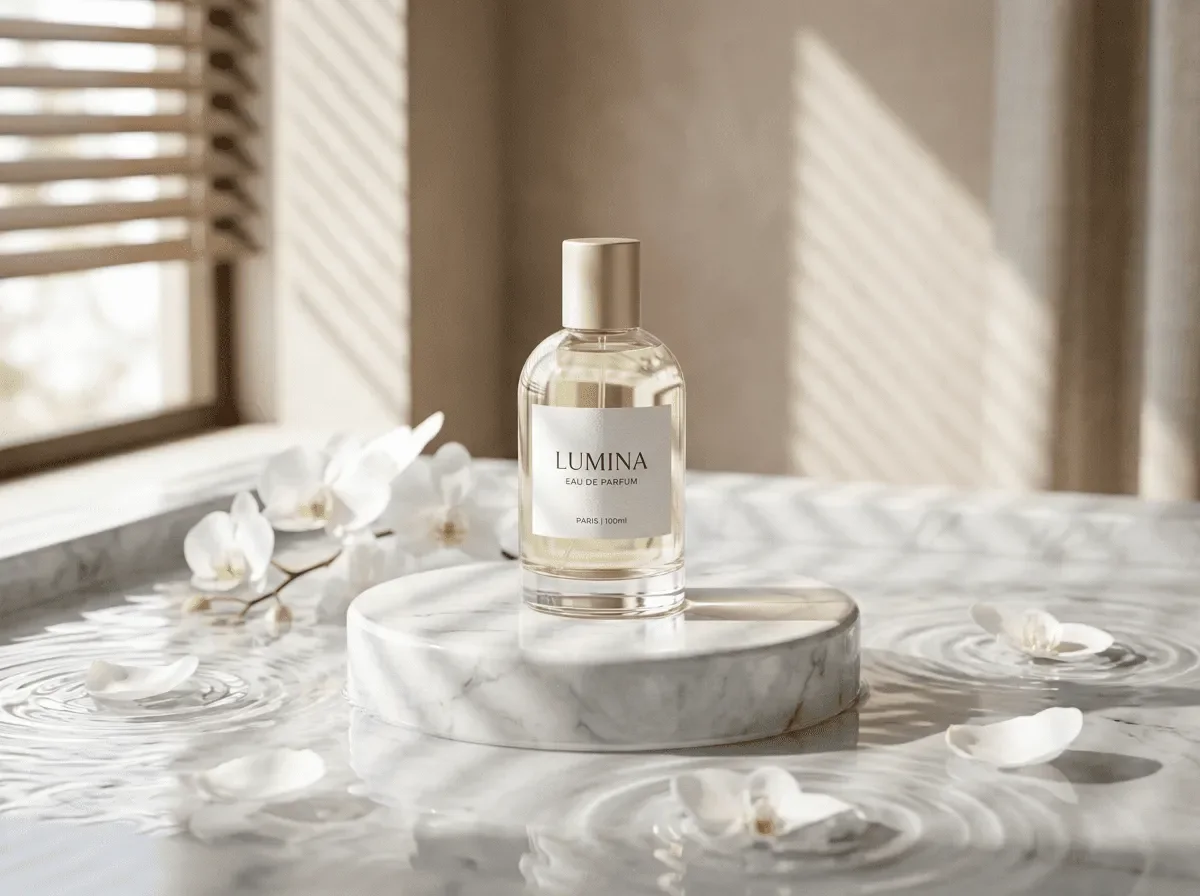
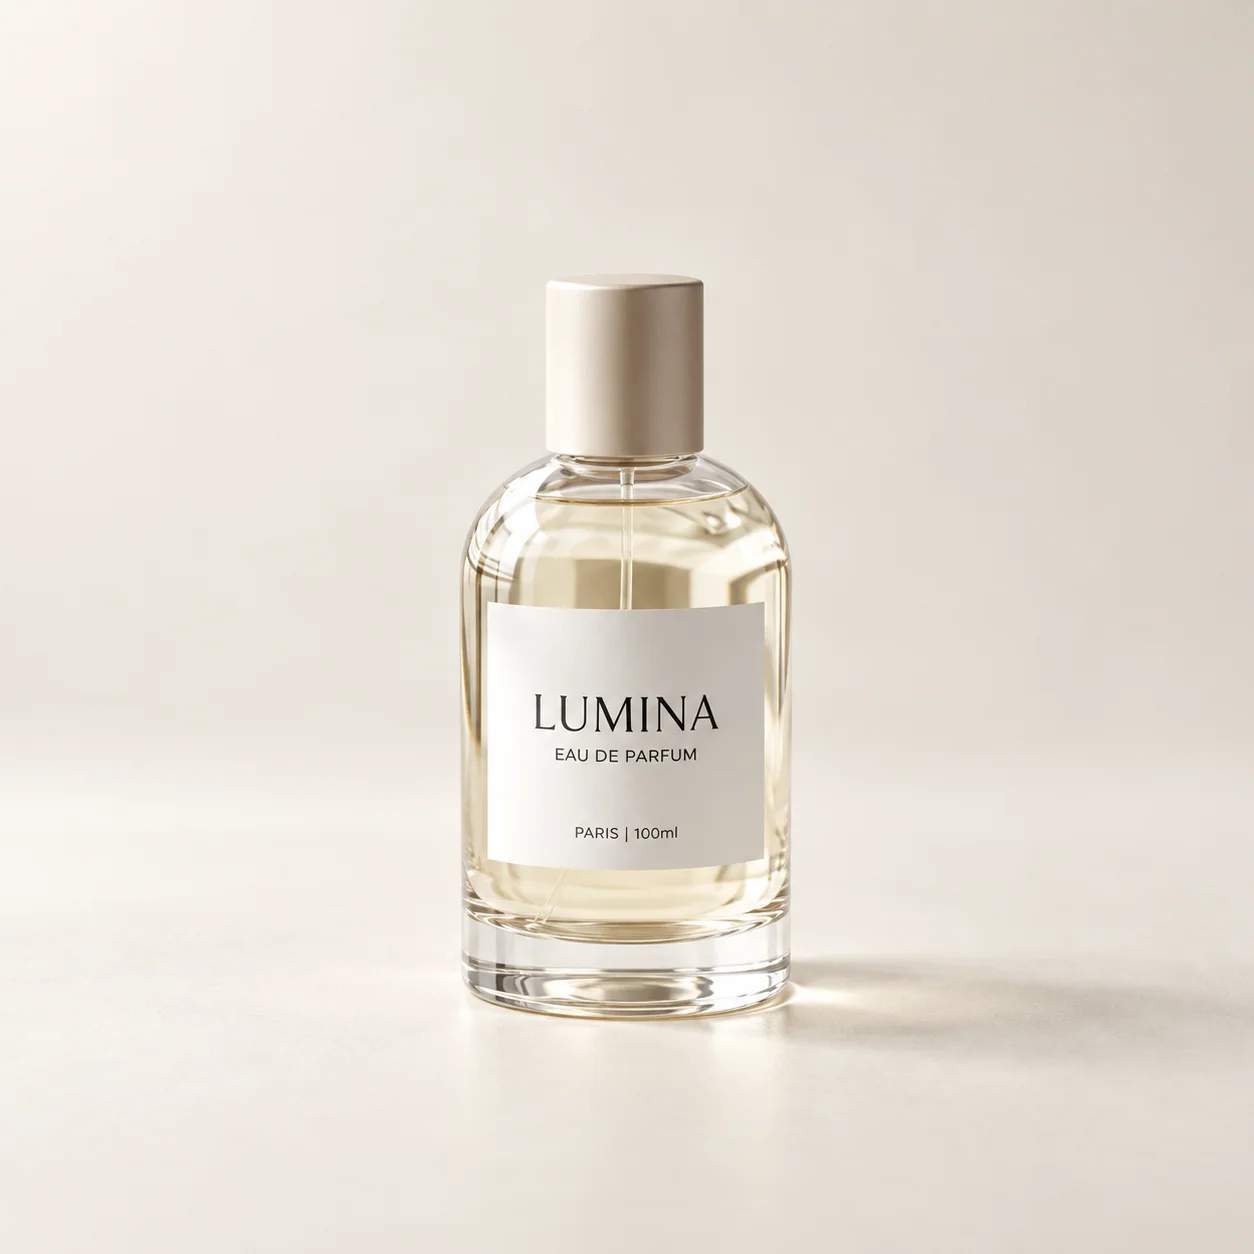
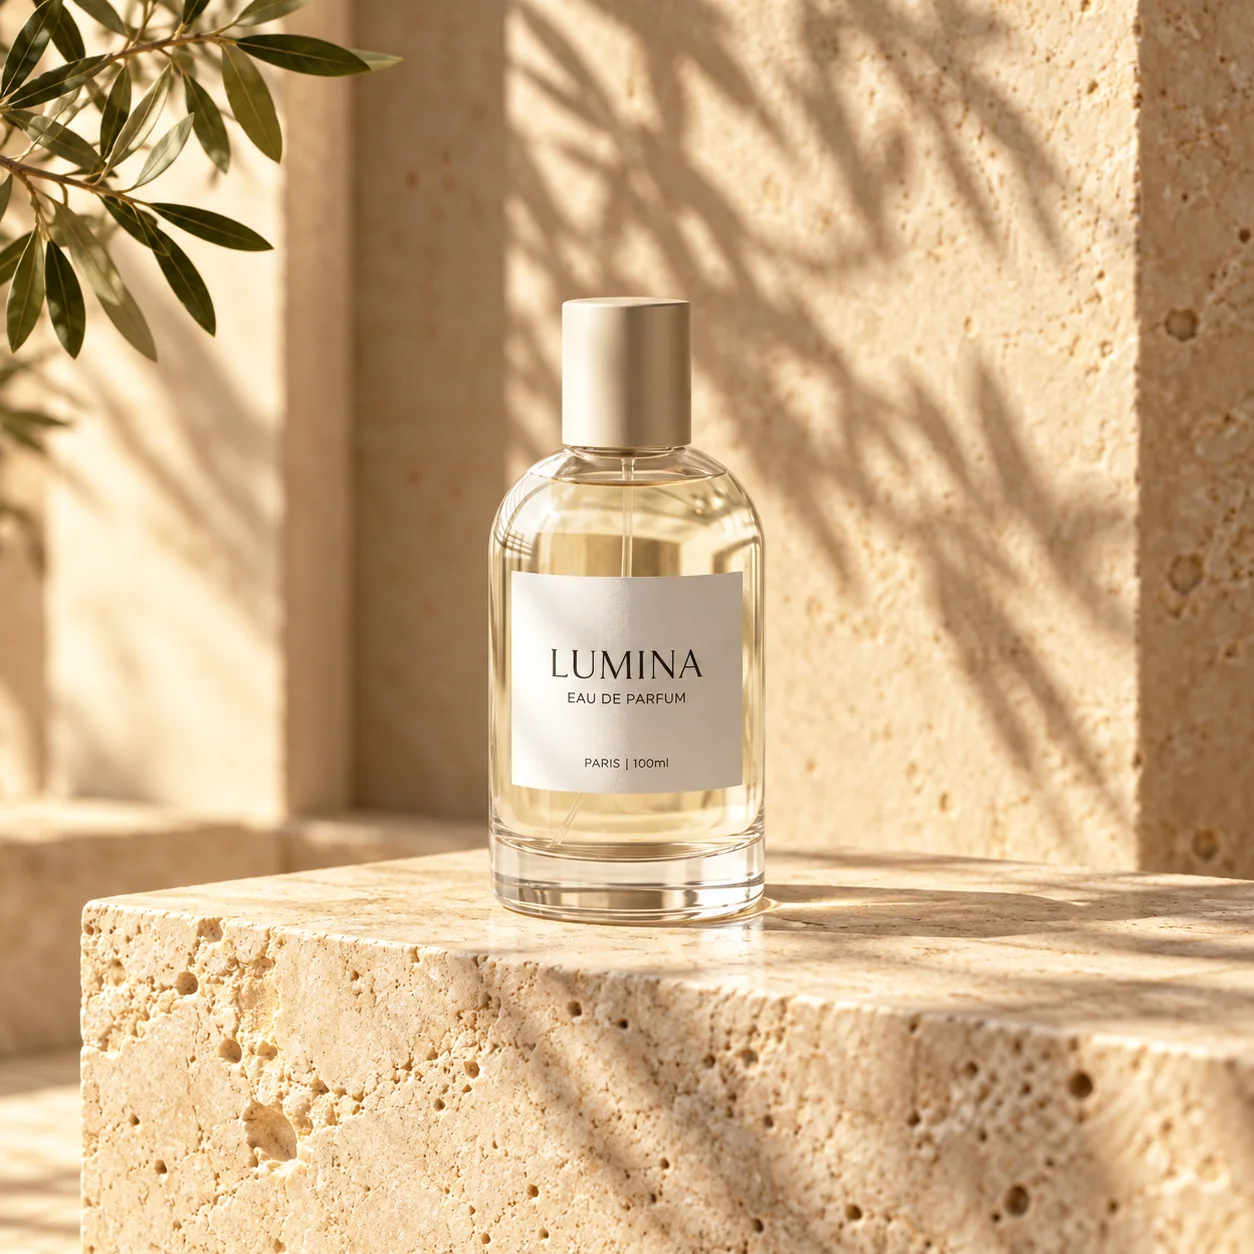
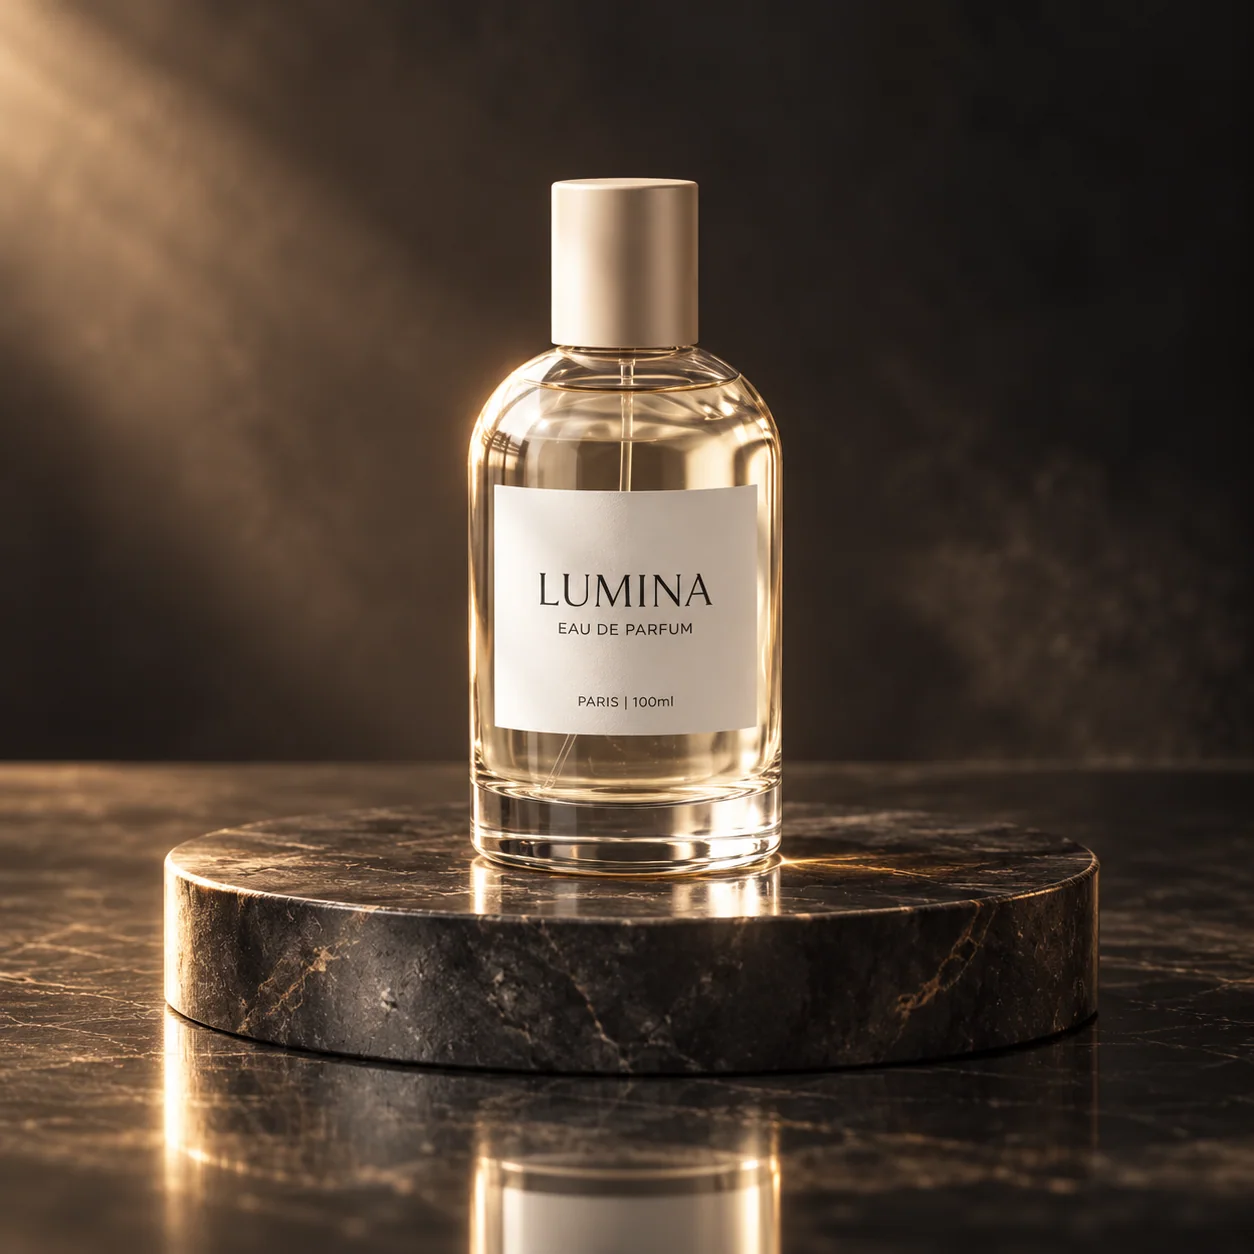
Upload a clear photo of your own product above. The illustrations are not submitted as your reference.
Style and motion illustrations, not verified Ofrai results from the same product. Review shape, color and labels in every output.
What an AI product photo generator is actually selling you
A product photo implies a real capture: lens behaviour, real material falloff, plausible imperfections. A product render implies a digital build: cleaner light, controlled reflections, surfaces that may not exist in a physical studio. Sellers mostly need the first impression and the second practicality. If you are selling a used or resale item, generate a rendered look and disclose it. If you are selling something where customers inspect finish and texture closely, generate the scene but keep a real hero photo in the listing.
Setting up one studio and reusing it
Define your virtual studio once in the prompt preamble: “seamless off-white backdrop, large softbox from camera left, subtle fill from right, 90mm lens, product on matte acrylic base, faint reflection”. Reuse that preamble verbatim for every shot in the set. Light changes between frames are the single most obvious tell of generated product imagery — a ring light in one frame and hard sun in the next reads as a mistake, not a style.
A prompt skeleton for listing sets
Build prompts as [product reference] + [shot type] + [backdrop and surface] + [light] + [lens and camera height] + [what must stay accurate]. “Ceramic pour-over dripper, hero shot, warm grey seamless backdrop, large softbox from upper left, 85mm, eye-level with the rim, keep the spiral ribs and matte glaze exactly”. Shot types worth naming: hero three-quarter, straight-on elevation, top-down flat lay, stacked group, scale-in-hand, and packaging shot. Six shot types cover most listing galleries.
Compare models on one product photo
Upload the same reference photo and use the same prompt on two models that accept image input. Request one image at the same aspect ratio and resolution if both models support them. Note the estimated credits, then compare the product shape, color, and label against the original. Keep the better draft as your reference for the next shot or use it as the starting frame for a product video.
Choose a reference photo for an existing product
This tool starts with an uploaded product photo. Choose a sharp image that shows the full silhouette and the label you need to keep. Ask for one change first, such as softer light or a new surface, then compare the shape, colour, and lettering with the original. For a new concept without a reference photo, start from text in Image Studio.
Light, lens and surface vocabulary
Words that consistently change output: softbox and octabox for broad gradients, rim or kicker light to separate an edge from the backdrop, catchlight in the eyes or on glass, bounce card for lifting shadows, 35mm for context and 85–135mm for compression and flattering proportion. Surfaces behave differently — matte acrylic gives a faint contact reflection, polished marble gives a sharp mirror, raw concrete gives diffuse bounce. Pick one surface per set.
Budgeting a shoot you cannot actually afford
A generated set costs a fraction of a one-day shoot but replaces only the photography, not the art direction. If you need physical accuracy samples, a 3D scan, or on-model shots of a wearable, hybrid is usually the answer — generate the backgrounds and hero set, photograph the detail shots yourself. Keep a shot list before you start, or you will lose an evening to variants nobody needed.
Six shot types that cover a whole gallery
Name the shot explicitly instead of asking for a product photo. Hero three-quarter: “Ceramic pour-over dripper, hero three-quarter from slightly above the rim, warm grey seamless backdrop, large softbox upper left, 85mm, spiral ribs and matte glaze unchanged.” Straight elevation: same preamble, “straight-on front elevation, camera at rim height, symmetrical.” Top-down flat lay: “overhead 90-degree angle, dripper with carafe and two cups in a loose triangle.” Stacked group: “three sizes nested, three-quarter.”
Scale-in-hand: “held in one hand at chest height, sleeve visible, shallow depth of field.” Packaging: “retail box beside the product, same light.” Six frames from one preamble is a gallery; ten frames from ten prompts is a mess.
Settings worth setting before the first frame
Use the aspect ratios and resolutions listed for the selected model. Set one output for the first draft, check its cost, then decide whether more variants are useful. Where supported, upload an approved reference image and describe what must stay unchanged. Check subject shape, light and crop in every result; a reference guides a new generation and does not guarantee an identical frame.
Colour accuracy and the white point problem
Generated product imagery usually looks slightly wrong before anything else is wrong, because the model reproduces the idea of a colour rather than a measurement of one. Reds skew orange, greens skew cyan, and any cream or beige wall drifts. The fix is not more adjectives but a fixed light description: specify a neutral grey card in frame, a white point at 5600K, and no coloured gel or warm ambient in the room.
When a brand colour is genuinely critical, generate the studio and staging but composite a real product photograph for the hero frame. No amount of prompting converts an approximation into a Pantone reference.
What a six-shot set actually costs in credits
Budget by passes, not by frames. About half your spend should go to discovering which studio preamble works, and that discovery belongs on flux-2 at low resolution where a composition test costs a fraction of a premium render. Once the preamble is fixed, the remaining five shot types need one final render each on nano-banana-pro or gpt-image-2, plus a reserve of roughly one extra frame per shot for the detail shots that fail.
Requesting four candidates on every shot during the first pass multiplies the bill before you know what you want. Each run shows its estimated credit cost before it starts, and the same balance covers video and text work.
When to shoot the two frames you cannot fake
Generated imagery carries you a long way and then fails at two specific points: anything a buyer measures, and anything whose surface is the argument. A watch sold on its brushing, a lipstick sold on its weight in the hand, a chair sold on how the leather creases — these need a real camera, because the detail that convinces is exactly the detail a generative model approximates. Everything else, staging, backdrop, lifestyle context, seasonal sets, is faster and cheaper generated.
The most common professional pattern is hybrid: two or three real photographs anchor the listing, and the surrounding gallery is built around them with matching light.
Choose between a product shoot, a new background, and a cutout
Use this page when you want to restage an existing product photo with new lighting, framing, or props. For an approved photo where only the setting should change, use the background generator and specify what to keep. For an isolated asset to place in a layout, use the product cutout workflow. Where exact packaging or texture matters, keep the original photo as the listing’s reference.
Once your product photo is approved, use it as the first frame in the AI product video generator to make a short clip for your listing.
For a cake brief, sketch frosting, layers and decorations with cake design concepts before photographing the finished product.
One perfume reference, two listing images
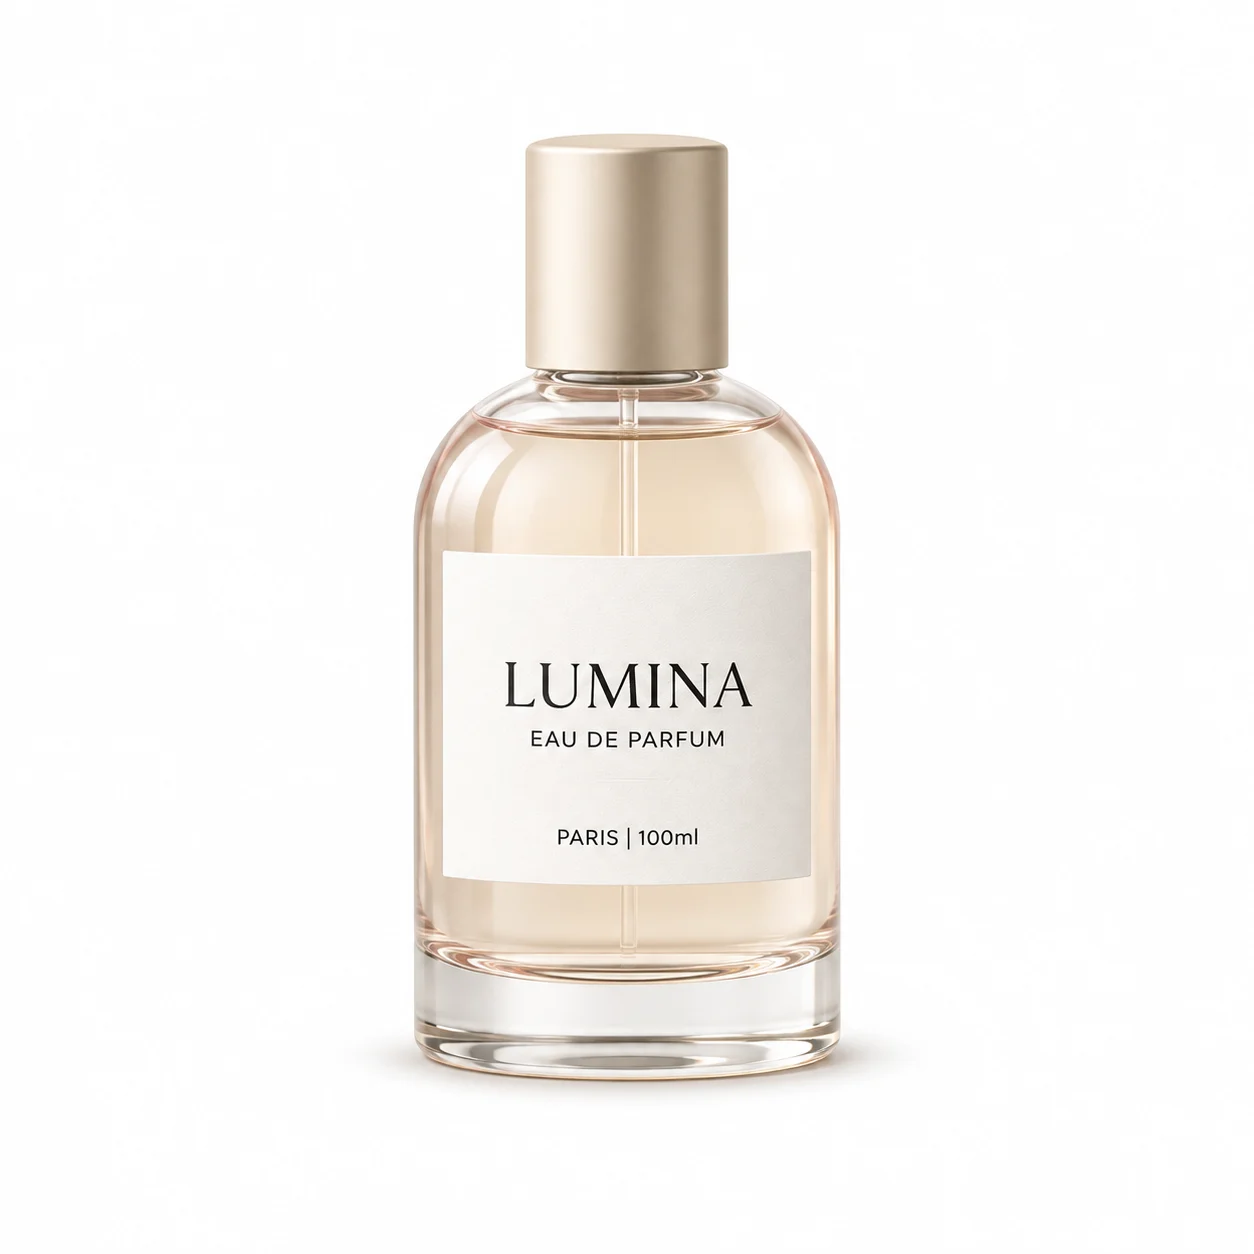
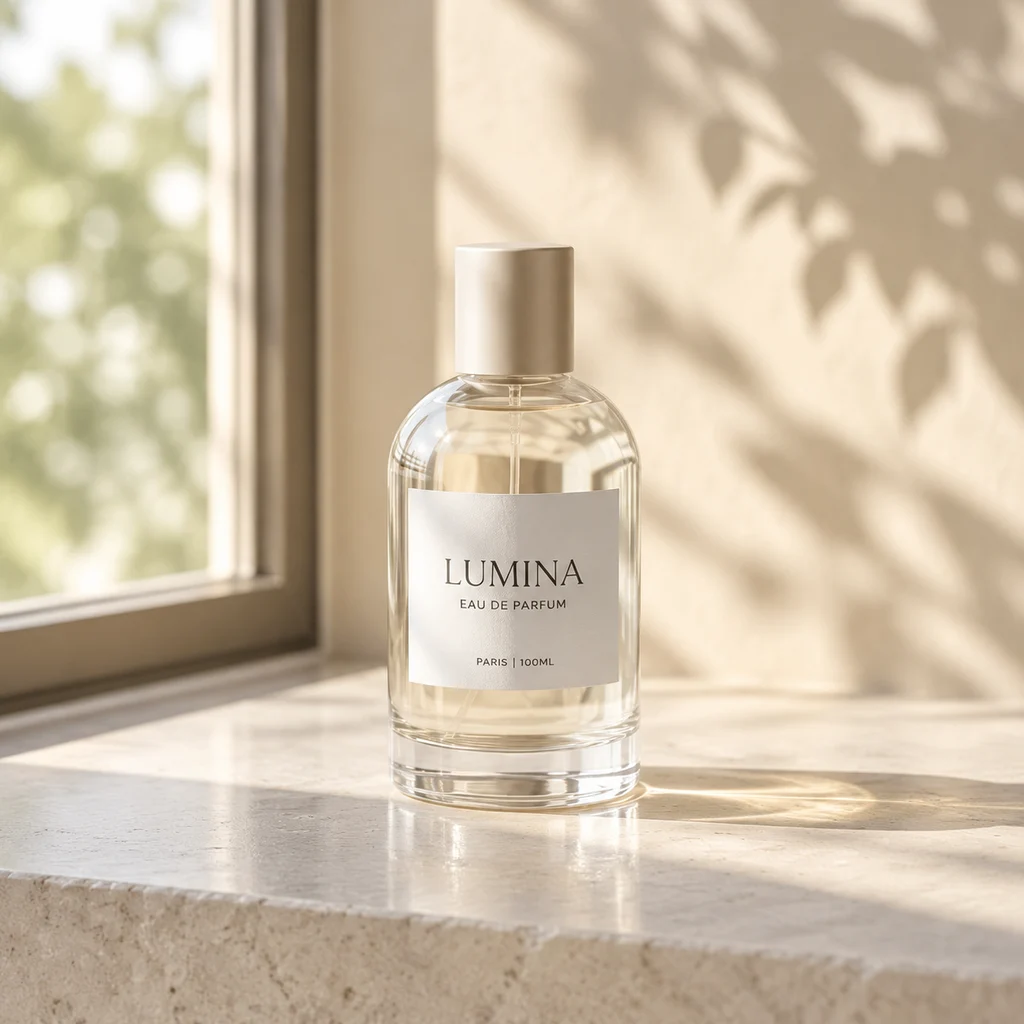
2026-11-14 GPT Image 2.5 test. Each request used the same reference to generate one square image at the 1K setting. The provider billed $0.0225 per image. The current standard Ofrai quote is 21 credits per image.
Reference used for both runsWhite-background main image · 1254 × 1254 · 164 sWindow-light listing image · 1024 × 1024 · 90 s
Both prompts described the glass as pink, although it is clear in the reference. The white-background shot kept the LUMINA name and gold cap, with warmer glass and a larger label. The window-light shot stayed closer to the reference bottle shape. Check the small print at full size and compare the color and packaging against the actual product before listing.
Read the exact prompts
White-background main image. Use the uploaded perfume bottle as the only product. Preserve the exact bottle shape, pink glass, cap, label design and existing text. Place the same bottle upright in the center on a white studio background with a soft, short contact shadow. Square ecommerce main image. No extra text, props, or products.
Window-light listing image. Use the uploaded perfume bottle as the only product. Preserve the exact bottle shape, pink glass, cap, label design and existing text. Place the same bottle upright on pale limestone beside a window, with soft afternoon sunlight and a faint leaf shadow on the background. Square lifestyle listing image. No extra text, props, or products.
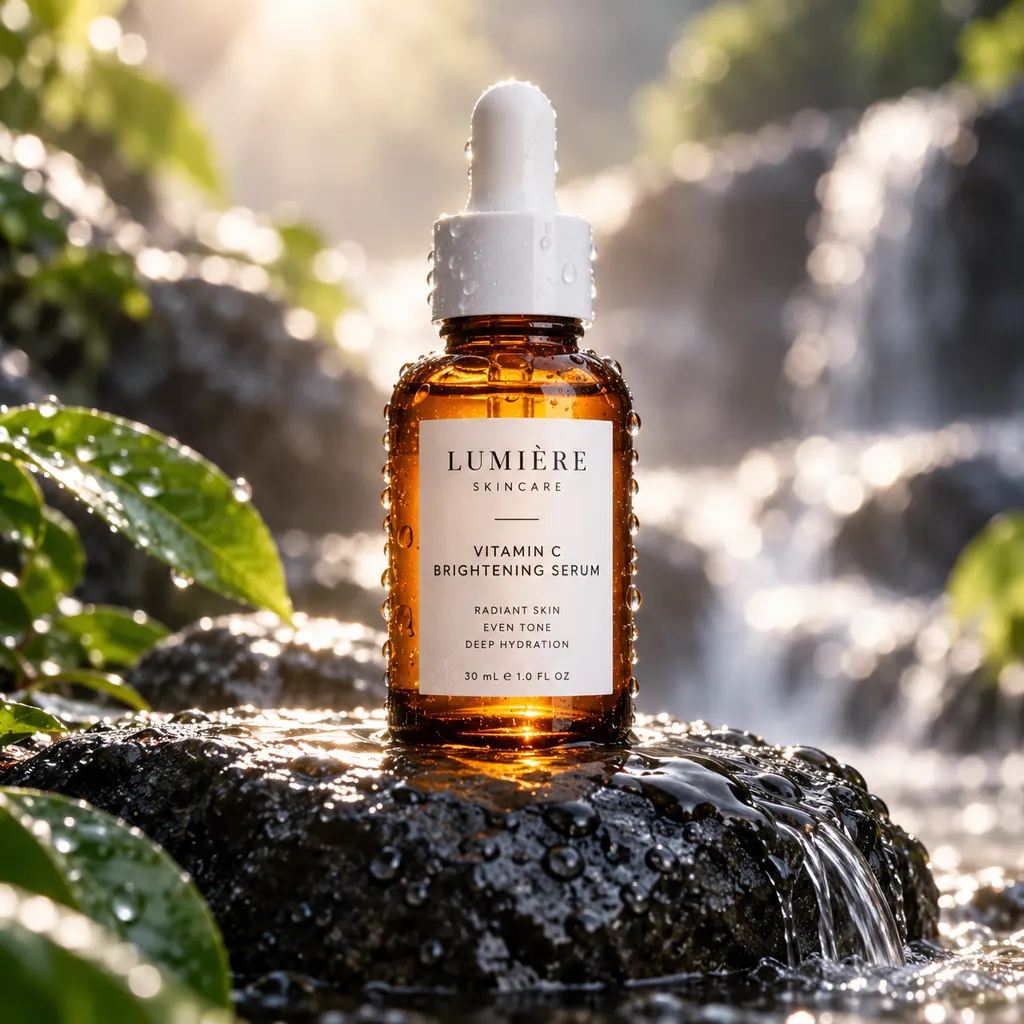
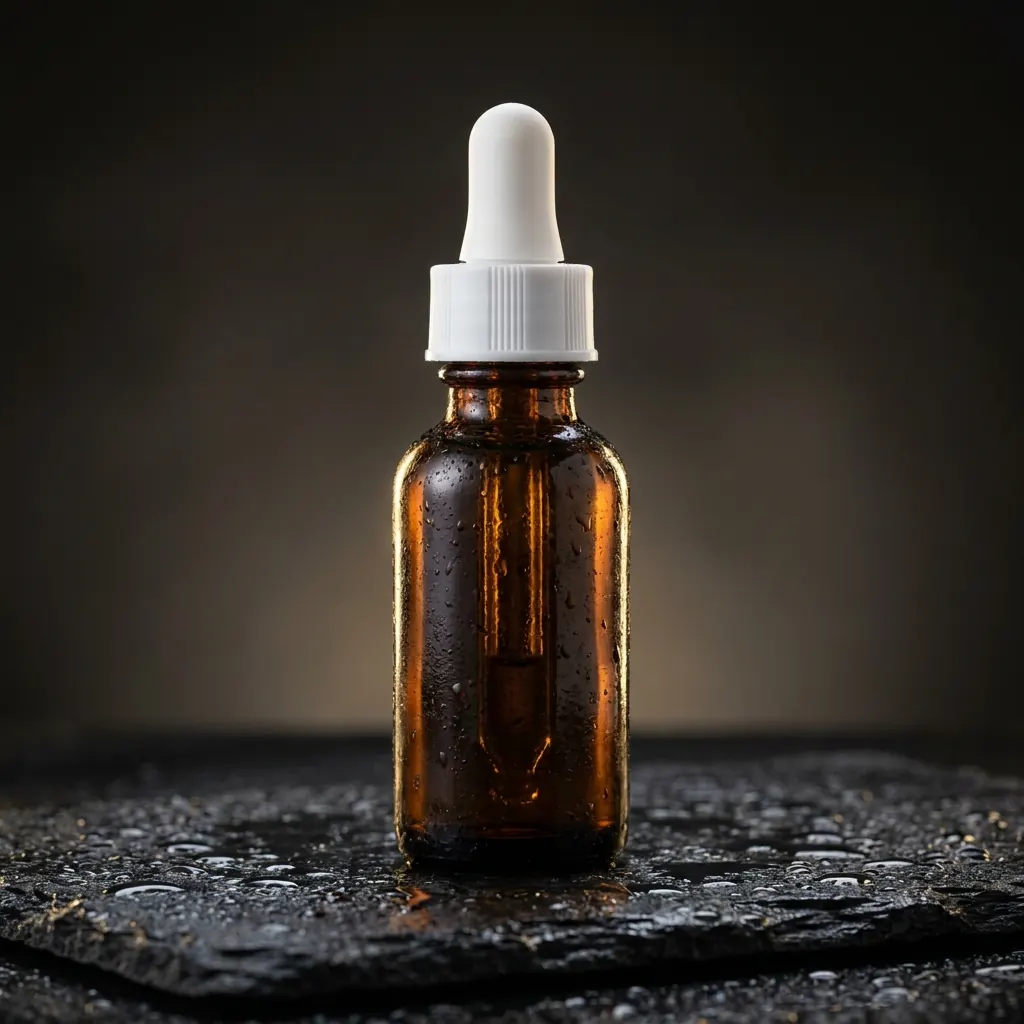
Ofrai test · 2026-10-25 · 1K · 1:1 · one image per model from the same text prompt.
Studio product photo of an amber glass serum bottle with a white dropper cap on a wet black stone, soft rim light from behind, water droplets, shallow depth of field, commercial skincare advertising.
GPT Image 2.5 · 72 s. The model added foliage, a waterfall, and an invented label. Use a reference photo when packaging must match.Nano Banana Pro · 25 s. The bottle stays prominent against a dark background, with fine droplets and softer rim light.
E-commerce hero: cobalt lounge chair, geometric layout with blueprint overlay, studio product shot
FAQ
Do AI product photos look convincing?
They look convincing when the set is internally consistent and the prompt describes light, surface and lens explicitly. They fall apart when the light direction, surface or camera height changes between frames, because real photography has continuity that generation only approximates. Hold the studio preamble fixed across a set and the difference stops being noticeable at listing size.
Will the generated image match my exact product?
The upload guides the model, but details can change. Ask it to keep the shape, colour, label, and packaging unchanged, then compare the result with your original before publishing.
How many images should a product listing gallery have?
Choose images that answer different buying questions. Start with a clear hero image and add angles, packaging, a scale reference, or a lifestyle image where they help the shopper understand the product.
Should I disclose that the photo is AI-generated?
For used or resale goods, yes — marketplaces require it and buyers treat undisclosed renders as a misrepresentation risk. For new products with no real unit photographed, disclosure rules are less settled, but a rendered look presented as a photograph erodes trust when the delivered item differs. Keeping a real hero photo alongside generated scenes is the safest pattern.
Which model should I use for product photography in Ofrai?
Use gpt-image-2 for instruction-heavy final renders where labels, geometry and constraints must hold. Use nano-banana-pro when working from a real product photo and changing only the environment. Use flux-2 for fast, low-cost composition tests, and seedream-5 when on-pack text has to stay legible.
Can I change one detail and keep everything else the same?
If a detail changes that you did not mention, re-prompt with an explicit lock statement naming what must remain identical.