Features
AI Anime Video Generator
By Ofrai Editorial (Use Case Research)
An AI anime video generator turns key art or a text brief into anime motion — hair in the wind, a held pose breaking into a cutscene beat, dramatic speed lines. The reliable method is anchor-frame first: design the character as a still in Ofrai Image Studio, then animate that frame in Video Studio so line weight, eye style and costume survive the motion. Shoot it as a series of short cuts, because anime style reads through editing far more than through long continuous takes.
Chat and video use credits from your Ofrai balance.
Example prompts
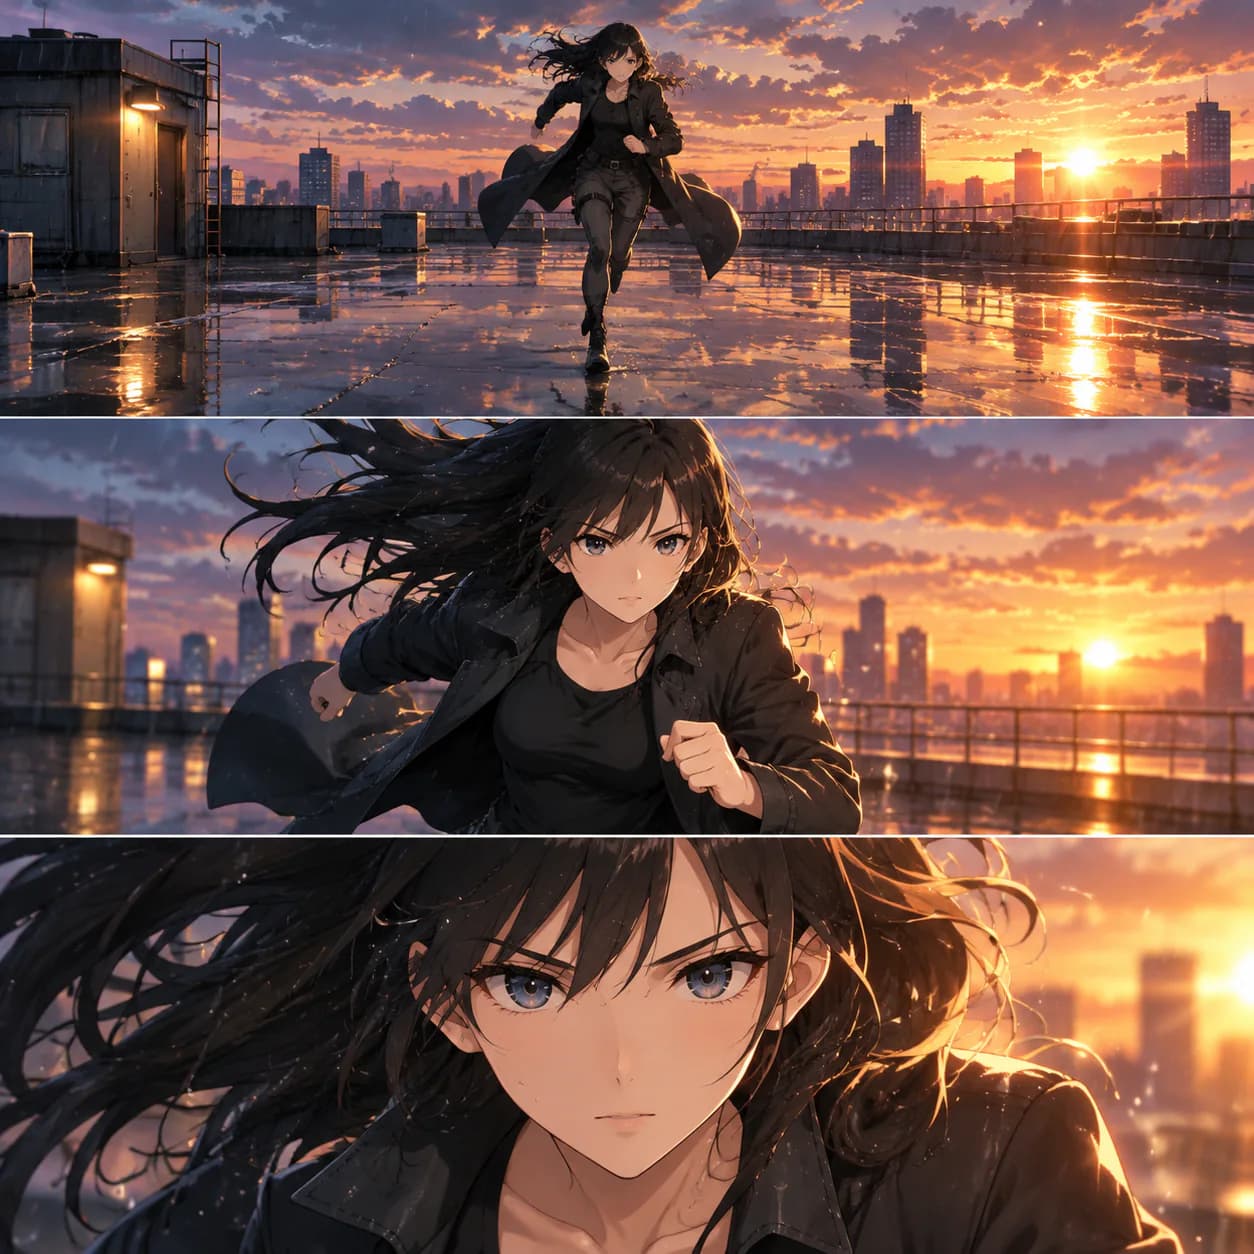
Anime action sequence of the same adult heroine sprinting across a rain-soaked rooftop at sunset, wind moving her hair and coat, dynamic tracking camera, consistent character design.
Openings, cutscenes, and loop clips
Three formats cover most requests. Openings: fast cuts of a hero pose, a detail insert and a wide landscape, each two to three seconds, cut to music. Cutscenes: one character, one action, one emotional beat, usually four to six seconds. Loops: a single ambient action such as drifting petals or blinking neon that returns to its first frame. State the format in the prompt — 'anime opening cut, fast push-in on the hero' gives the model far more to work with than 'anime video'.
Using key art as the anchor frame
Design the character as a still first. Clean line art, large expressive eyes, flat cel shading with one hard shadow, and a simple background survive motion; soft painterly rendering does not. Upload that still into Video Studio as an image-to-video start and describe the movement in the clip's own words. This preserves line weight and costume detail, which pure text-to-video loses within the first second because it is inventing the design as it goes.
Shot language the models respond to
Anime sells through shot vocabulary, so use it: 'extreme close-up on the eye, iris highlight', 'low angle hero shot, wind in hair', 'speed lines radiating from centre', 'Dutch angle, slow push-in', 'over-the-shoulder, character turns away'. Combine at most one shot type with one action. Two speed lines plus a camera move plus a costume change is the standard failure recipe, and the resulting clip usually loses the line art quality entirely.
Which model carries anime motion best
seedance-2-5 is the value pick and the safest default for key-art animation: it holds the anchor frame's line work while producing readable motion. sora-2 gives richer scene motion and better handling of complex camera language when budget allows. gemini-omni is the choice when the clip has to carry on-screen text or more than one consistent element. veo-3 produces the most physically real motion, which is useful for cinematic backgrounds but usually over-realises a cel-shaded character.
Keeping character design consistent across shots
Consistency comes from repeating the same identifiers in every prompt: hair shape and colour, eye colour, costume pieces and their colours, and one accessory. Do not paraphrase between shots; copy the same sentence. Then keep the same model and the same aspect ratio for the whole sequence. When you need a wide shot after a close-up, generate the wide from the key art rather than from the close-up clip, because video-to-video re-styles aggressively.
Colour scripts and lighting language
Name the palette and the light source the way an animation director would: 'golden hour backlight, orange rim on hair, cool blue shadow side', 'neon signage casting magenta and cyan reflections on wet asphalt', 'overcast flat light, muted greens'. Consistent colour scripting across shots is what makes a generated sequence feel like one piece rather than four clips. Avoid vague terms like cinematic that let each shot choose its own grade.
Fixing melted faces and style drift
Style drift shows up as the render sliding toward live-action about two seconds into the clip. Counter it by naming the style in every sentence, not just the first, and by keeping clips short. Melted faces come from head turns and fast camera moves: replace a rotating head turn with a blink and a hair movement. If the drift persists across three takes, the anchor frame is not stylised enough — redraw the still and try again rather than changing models.
Copy-paste AI anime video prompts for three cut formats
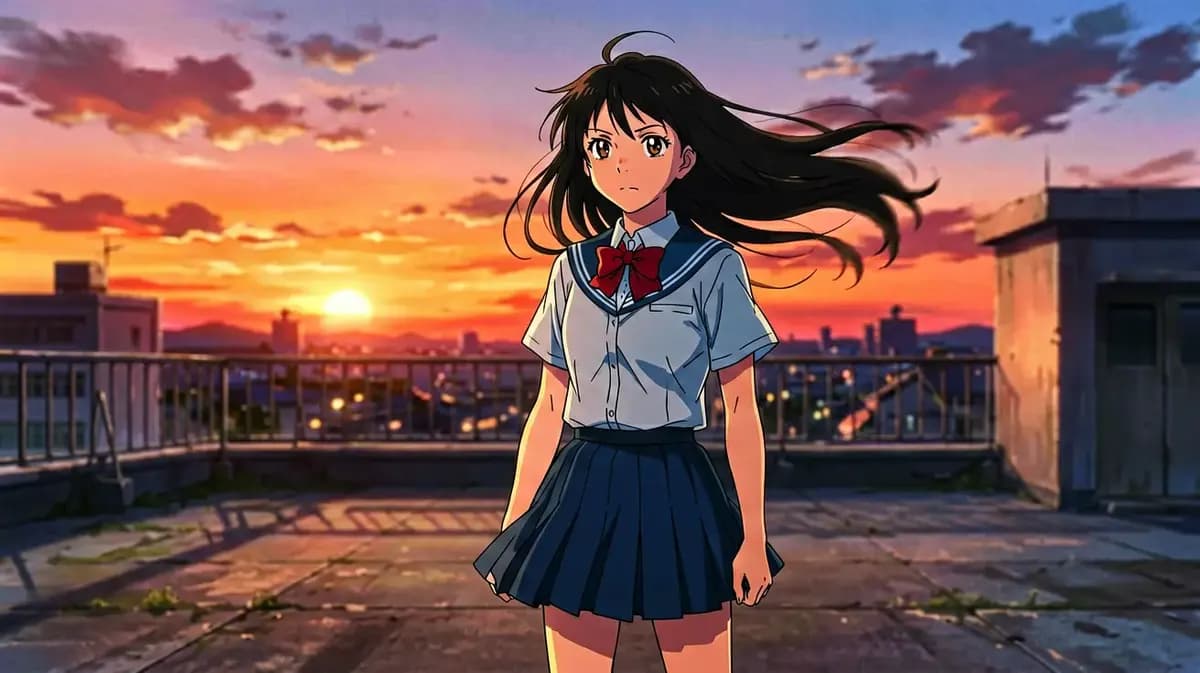
Opening cut: 'anime opening, fast push-in on the hero character from a low angle, coat and hair blown by wind, speed lines radiating from centre, two seconds, hard cel shading, no text'. Emotional cutscene beat: 'a single character standing on a rooftop at dusk, overcast light, they lower their head and their grip tightens on the sword hilt, slow dolly in, four seconds, golden rim on the hair against a muted blue city'.
Ambient loop: 'a quiet street in the rain at night, neon signage reflecting in wet asphalt, a curtain of rain crossing frame left to right, petals blowing through, locked camera, the clip returns to its first frame'. The pattern is identical in all three: the format is named first, then one camera move, then one subject action, then the timing. Naming the format is what stops the model from treating every request as a slow establishing shot.
Clip length and framing
In Video Studio, choose the shortest duration the selected model offers that fits the shot. Use an approved reference image where supported. Keep the aspect ratio and character description consistent, and change one movement at a time. Trim the clip and adjust the pacing in your video editor.
Budgeting credits across an AI anime video sequence
Budget by shot. Check the credit estimate for the selected model and settings before each attempt. Download the chosen clips and keep the prompt, model, aspect ratio, and source image in your project notes.
AI anime video clips versus general and realistic tools
Use this page when the character design itself is the asset: a mascot, a game or anime IP, a fan project, or a title sequence where the line work must match a key art you already own. General video tools are better when the clip is a live-action moment with no design to protect — a product in a room, a location shot, a talking head — because they prioritise camera physics and photographic realism, which is the opposite of flat cel shading.
Realistic video engines will happily over-photograph a cel-shaded character, adding skin pores and lens flare that break the style within a second of motion. If the anime look is an overlay on a photographic base rather than the whole image, consider an animate-photo route instead, where the source is a real frame and only a small motion is added.
If you need dialogue with lip-sync, none of these four models delivers it well; plan anime sequences around held looks, movement and camera rather than speech, and add dialogue in post.
Rebuilding the anchor frame when style keeps drifting
If three takes in a row slide toward live action, the problem is in the still, not the video model. The anchor still is not stylised enough for the engine to hold: check it for painterly rendering, soft gradients, or photographic skin, and redraw it in flat cel shading with clean line art and one hard shadow. Give the character large expressive eyes, simplified nose and mouth, and a flat background, because those four features are what the video model can carry across frames.
Rebuild the still in Image Studio, approve it as a still on its own, and only then send it into Video Studio. This costs one image generation and normally saves four or five video retries.
While you are there, simplify the background too: detailed environment art is the second most common reason a stylised anchor drifts, because the model has more detail to reinterpret once motion starts. Keep one hard light direction in the still and repeat the same words in the clip prompt so the grade does not change halfway through.
Examples
FAQ
- Do I need anime key art before making an anime video?
- Not strictly, but it is the most reliable path. Designing the character as a still in Image Studio gives Video Studio an anchor frame, and line weight, eye style and costume details survive much better than they do when the model invents the design mid-clip.
- How long should each anime clip be?
- Two to four seconds for opening cuts and four to six seconds for cutscene beats. Longer takes give the model more time to drift toward live-action and to accumulate face deformation, so longer sequences are better built from several short clips.
- Which model keeps a cel-shaded anime style?
- seedance-2-5 holds the anchor frame's line work most reliably at good credit cost, so it is the default for key-art animation. veo-3 offers more physical realism but tends to over-realise cel-shaded characters, which is usually not what an anime sequence wants.
- How do I keep the same character across several shots?
- Repeat the same identifier sentence in every prompt — hair, eye colour, costume pieces and colours, one accessory — without paraphrasing. Keep the same model and aspect ratio throughout, and generate wide shots from the key art rather than from an existing close-up clip.
- Why does my anime video turn realistic after a second or two?
- Style drift toward live-action. Name the animation style in every sentence of the prompt rather than only the first, keep clips short, and avoid fast camera moves. If it still happens across several takes, the source frame is not strongly stylised enough.
- Can I put text or subtitles inside an anime clip?
- Yes, and gemini-omni is the model listed here that is best suited when text must stay consistent alongside the subject. Keep text short, place it in a stable part of the frame, and render several takes since letterforms are the first thing to distort.
Related generators
- AI Animal Video Generator
- AI Short Video Generator
- AI Furry Video Generator
- AI Realistic Video Generator
- Best AI Long Video Generator
- Wan 3.0 Video Guide for Motion and Camera Work
- AI Object Replacement Video
- AI Outfit Swap Video
- AI Photo Dance Video Generator
- AI Product Swap Video
- AI Virtual Try-On Video
- Photo to video