AI Sticker Generator
Start with a small idea and give it a visual character.
Use Ofrai to draft sticker artwork from a description or a reference image, then prepare the finished sticker for print or digital use in a design tool.
What makes a sticker printable — and printable from an AI sticker generator
Three things: a silhouette the die-cut can follow, a white border that survives cutting, and flat colour that does not depend on gradients. Avoid fine detail smaller than about two millimetres at final print size, and avoid soft shadows on the transparent edge because they muddy the cut line. Design at the final size you will use — a sticker drawn at poster scale and scaled down loses all its small detail.
Getting the die-cut border right
Describe it explicitly: “die-cut sticker, thick even white border following the silhouette, clean separated outline, flat colour fill, transparent background, no drop shadow”. The border must be thick enough to read as a border and even all the way around. If the model adds a drop shadow, ask for “no shadow” in the same sentence, since shadow and border are frequently bundled in the model’s default interpretation. State the thickness relative to the subject — a thick border on a small sticker is nearly the size of the artwork itself.
Prompting an AI sticker generator from nothing
Give subject, expression, style and production notes: “a sleepy cat holding a coffee cup, kawaii sticker, flat vector, thick white die-cut border, transparent background, front three-quarter view”. Keep production notes identical across a pack so only the subject changes. Emoji packs work the same way, with the additional requirement that every face read clearly at small size — simple features win over detailed ones. If you are scripting a pack, write all subject lines first and paste the shared production notes onto each.
From rough drawing to sticker
Upload a sketch and ask for a sticker version with the exact silhouette preserved. The reference models follow the uploaded outline closely, which matters because the die-cut depends on the contour. If the sketch is very rough, redraw the key contour in a vector tool first, then let the model handle shading, colour and border. Upload a flat, evenly lit scan, since a photograph with your hand in it will be faithfully rendered into the artwork.
Building a consistent pack
Consistency comes from repetition of the preamble, not from a single prompt asking for twelve stickers, which usually produces inconsistent borders and duplicated subjects. Two- to four-sticker mini sets on transparent backgrounds are usually more reliable than asking for a full sheet. Approve each sticker before starting the next, since a rejected sticker is far cheaper to redo alone than to unwind from a sheet.
Which model suits sticker work
Use gpt-image-2 when your brief has many constraints — flat vector, border rules, palette, expression — because it holds layered instructions best. Use nano-banana-pro when you are converting an uploaded drawing or logo into sticker form. Use flux-2 for fast, cheap concept tests of subject and expression. Use seedream-5 for designs that must carry legible text, such as word stickers or logo stickers. A four-sticker test set on one model will show you faster whether the border rules survive than a single hero render will.
Print and export checklist
Download the model’s result and inspect it in an image editor. If the background is opaque, remove it in a design tool and save a PNG with an alpha channel. Renaming a file to PNG does not add transparency. Check the edge at 200 percent zoom for a faint white halo or a dark fringe; both ruin a print run. Confirm the silhouette has no disconnected islands — a floating speck inside the die-cut line gets cut as loose debris.
For physical stickers, a vector output or a high-resolution PNG at final size gives a far cleaner cut than a heavily upscaled small image.
Four sticker prompts you can paste directly
Cute character sticker: “A chubby orange cat curled asleep on a slice of toast, flat vector sticker illustration, a bold black outline of uniform thickness around the entire shape, no shading, no gradient, saturated flat colours, centred with an even white margin, no background, no text.”
Retro badge: “Vintage travel badge with a mountain and a sun, flat colours only, cream and rust and teal, thick uniform outline, a few distress speckles kept inside the shape, no drop shadow, no background.”
Transparent line object: “A single glass tumbler with a lemon slice, minimal line icon, black line on transparent background, consistent stroke weight, no fill, no shadow, centred.”
Meme caption sticker: “Bold sans-serif caption across the top third with a simple cartoon face below, a thick outline around both the text and the figure, no background, the text must stay horizontal.”
Note what each prompt forbids. Sticker art fails far more often from what was left unspecified than from what was described.
Aspect ratio, size and resolution before printing
Decide the physical size before anything else, because it changes what finished means. A 50mm sticker hides far more imprecision than a 120mm one, and small stickers need proportionally thicker outlines — around 3mm at 50mm and closer to 5mm at 120mm. Aspect ratio should match the sheet: 1:1 for die-cut singles, 4:3 or 3:2 for rectangular designs, and avoid very wide frames unless the design is genuinely panoramic. Generate at the resolution you will actually print.
A 60mm sticker at 300dpi needs roughly 700 pixels; a 150mm banner needs about 1800. Upscaling afterwards softens every edge, and on a sticker the edge is the entire product. Download the model’s result and inspect it in an image editor. If the background is opaque, remove it in a design tool and save a PNG with an alpha channel. Renaming a file to PNG does not add transparency.
Keeping the style consistent across a sticker pack
A pack matches when outline weight, palette and level of detail are identical across every piece, and none of those three is reliably preserved by a prompt alone. Upload the approved first sticker as a reference whenever the style has to carry, because a reference transmits line weight far more reliably than words like “bold outline”. Name the palette in the preamble by colour rather than by mood, since “cute pastel” produces a different pink on every run.
Approve one sticker fully — outline, colour, size on the sheet — before generating the rest, because unifying a style after you have twenty inconsistent pieces costs more than starting over.
What a twenty-piece sticker pack costs
A twenty-sticker pack is one of the better-value jobs in image generation precisely because the components are small and simple; the budget risk sits in the retry loop, not in any single frame. Expect roughly two to three generations per sticker once the style is locked: forty to sixty renders in total, of which perhaps half survive the outline check.
The cheapest structure is a style-locking pass on flux-2 at low resolution using four or five stickers in the target style, followed by batch production on gpt-image-2 or nano-banana-pro, then a repair pass on the failures rather than a rerun of everything. Each generation shows its Ofrai credit cost before it starts.
Why die-cut borders break on print
Three printing failures account for most rejects. A border that thins or disappears on one side usually means the outline is not uniform, so describe it as an even thickness all the way around and check every sticker at 200 percent zoom. A sticker that tears during cutting means the smallest feature is below what the blade can hold, usually anything thinner than 1mm, so remove interior hairlines and keep detail away from the contour.
And colour bleeding at the border means the design ran to the edge with no white margin, so ask for an even white margin inside the outline. Every one of these is cheap to fix at generation time and expensive to fix after a hundred stickers have been printed.
How this differs from logo and icon design
A sticker carries a manufacturing constraint that logos and icons do not: it will be physically cut out. That single fact changes the work, because a shape that works as a small flat icon can fail as a die-cut object with no interior white space or with detail too fine for a blade. Logo work optimises for reduction and scalability — one mark that survives being shown at 16 pixels — while a sticker pack optimises for variety inside a shared style.
If you need a single precise, legally clean mark with exact geometry, use a vector tool or a designer. If you need twenty related objects that share a personality and will be cut from vinyl, this is the right page, and the prompt should always end with the physical size and the cutting method.
Examples
Example prompts
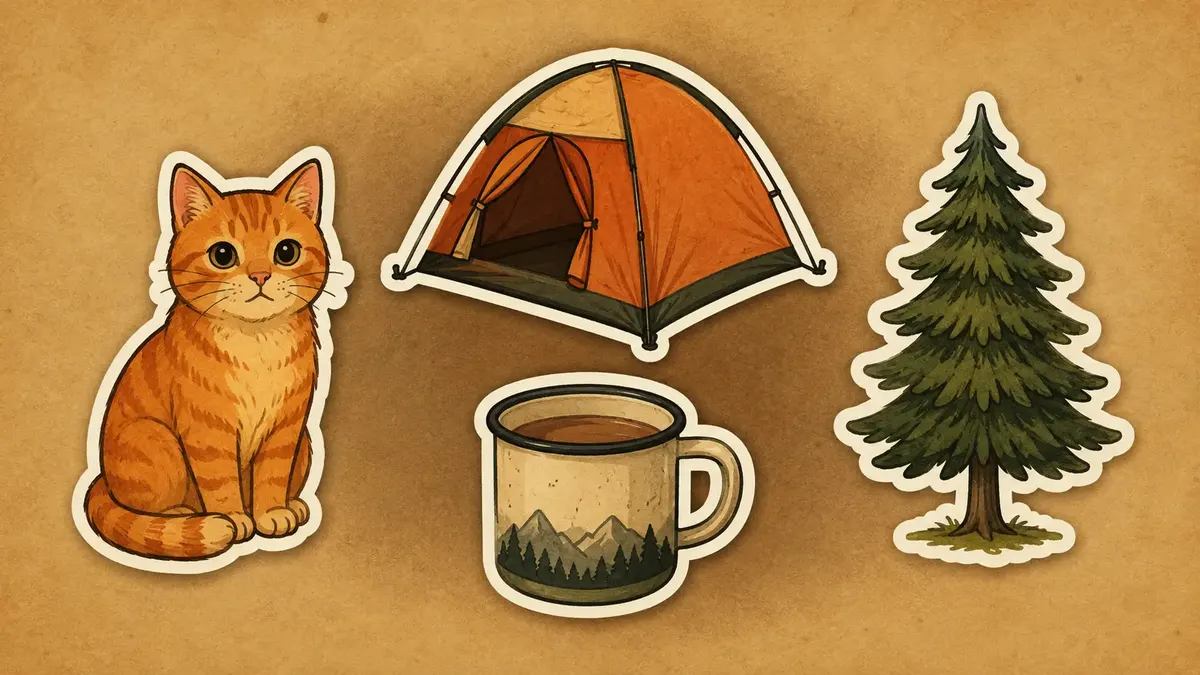
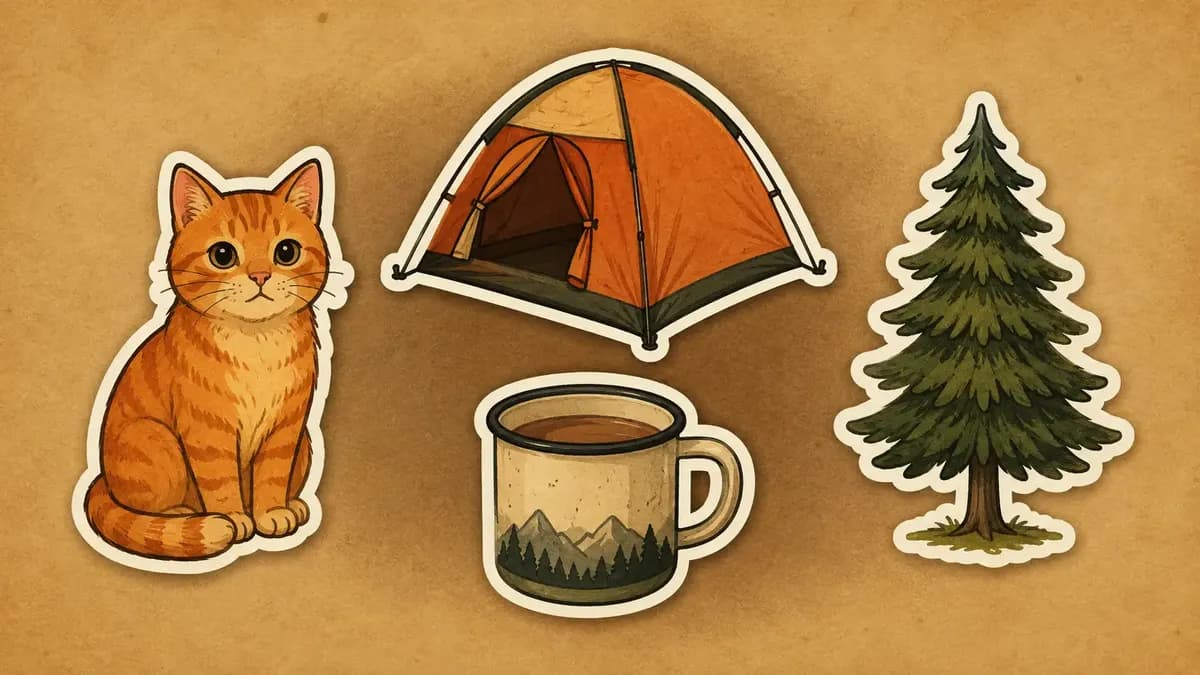
Camping sticker set: orange cat, orange tent, pine tree and enamel mug, warm kraft-paper background, hand-drawn texture, clean white borders, consistent colors and brushwork
FAQ
- How do I make a sticker with a die-cut white border?
- Describe the production format in the prompt: thick even white border following the silhouette, clean separated outline, flat colour fill, transparent background, and no drop shadow. Models often bundle a shadow in by default, so state both the border and the absence of a shadow in the same sentence to keep them separate.
- Can I turn my own drawing into a sticker?
- Yes. Upload the sketch as a reference and ask for a sticker treatment that preserves the exact silhouette while adding flat colour and a white die-cut border. If the sketch contour is very rough, trace the key outline in a vector tool first, because the cut line follows that contour precisely.
- How do I generate a matching set of stickers or emoji?
- Check the settings shown for the selected model, and preview the output before running a batch. Asking for a whole sheet in one prompt produces inconsistent borders and repeated subjects. Assemble the pack in your design tool after approval.
- What export format should I use for stickers?
- PNG with a transparent background. JPEG has no alpha channel, so the sticker arrives on a white or black rectangle. After exporting, zoom to 200 percent and inspect the edge for a white halo or dark fringe, and check for floating specks inside the cut line, since loose debris ruins a print run.
- Why do my stickers lose detail at small sizes?
- Because features below roughly two millimetres at final print size do not survive rasterisation or the die-cut process. Design at the actual print size instead of scaling down a large image, and simplify the subject — an emoji with three facial features reads better than one with ten.
- Can Ofrai generate stickers with text or logos?
- It can, and seedream-5 is the strongest of the listed models for legible lettering. Keep the words short, because generated text still needs review before it goes to print. For brand work, upload the logo as a reference rather than describing it, so the shape is preserved instead of re-invented.
Related generators
- AI Poster Generator
- AI Caricature Generator
- AI Fight Poster Generator
- AI Silhouette Generator
- AI Black And White Photo Generator
- AI Chibi Character Generator
- AI Classical Portrait Generator
- AI Cozy Anime Art Generator
- AI Cozy Winter Wallpaper Generator
- AI Crayon Drawing Generator
- AI Friendship Photo Generator for Two Friends
- AI Funny Photo Generator